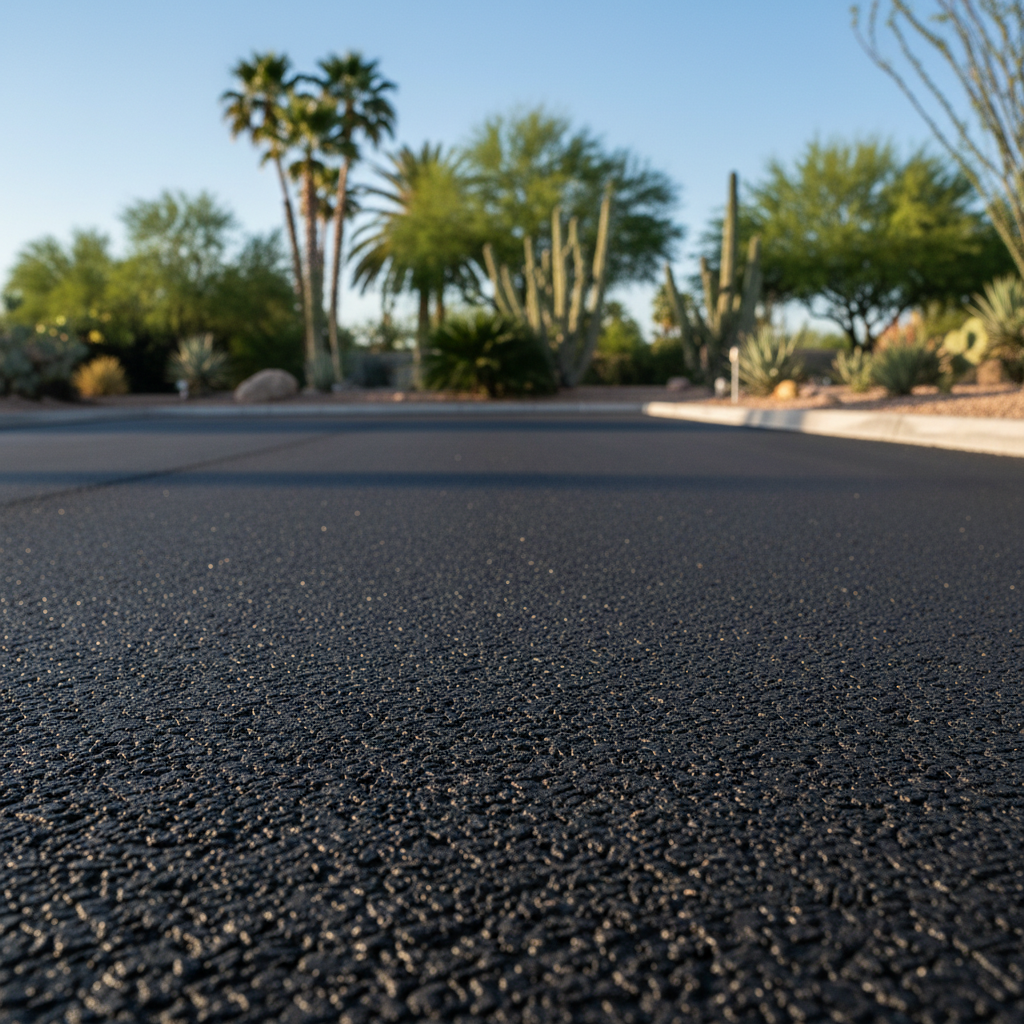
Got a spot on your property you're thinking of turning into a proper parking area? Maybe you've got an RV, a boat, or just too many cars for your existing driveway. It's a pretty common project for Phoenix homeowners, especially with those bigger lots out in areas like Scottsdale or out west toward Buckeye. But before you grab a shovel or start pricing out asphalt, let's talk about what's involved and where your efforts are best spent.
Before You Even Think About Paving
This is where most of your DIY effort should go. Planning is everything, truly. A good plan saves you headaches and money down the line. First off, what's the purpose of this parking lot? Is it just for light-duty passenger cars, or are you going to have heavy trucks, RVs, or even some equipment sitting on it? The expected load dictates the base and asphalt thickness you'll need.
Next, drainage. This is critical, especially with our monsoon season. You absolutely do not want water pooling on your new paved surface or, worse, running into your house or a neighbor's property. Think about the natural slope of your land. Can you direct water away from structures and into appropriate drainage areas? Sometimes this means a slight grade, other times it means a catch basin and pipe system. This isn't something you can just eyeball; you really need to think it through carefully.
Permits. Don't skip this one. Check with your local municipality (Phoenix, Mesa, Glendale, wherever you are). Depending on the size and scope, you might need a permit, especially if you're altering drainage or impacting public rights-of-way. Ignoring this can lead to fines and having to tear out work you've already done. It's a pain, sure, but it's part of doing things right.
Finally, utility lines. Before any digging, call 811. Seriously, do it. You don't want to hit a gas line, water pipe, or electrical conduit. They'll come out and mark everything for free. This is a non-negotiable step for any excavation.
During the Project: DIY vs. Pro
Okay, so you've got your plan, your permits, and your utilities marked. Now for the actual work. What can you realistically do yourself?
- Clearing and Grading: You can definitely clear the area of debris, rocks, and vegetation. If it's a small, flat area, you might even be able to do some basic leveling with hand tools or rented equipment like a skid steer. However, achieving a precise, consistent grade for proper drainage, especially over a larger area, is tough. This is often where I see homeowners get into trouble. If your grade isn't right, you'll have standing water, and that's a death sentence for asphalt.
- Base Preparation: This is arguably the most important part of any paving job. A strong, stable base is what supports your asphalt. For lighter loads, a few inches of compacted aggregate might be enough. But for anything substantial, you're looking at 6-12 inches of compacted ABC (Aggregate Base Course). Spreading and compacting this correctly requires heavy equipment – a vibratory roller, a compactor. You can rent these, but operating them effectively to achieve uniform compaction isn't as easy as it looks. If the base isn't compacted properly, your asphalt will crack and rut prematurely.
- Asphalt Laying: This is almost always a job for the pros. Laying asphalt isn't like pouring concrete. It needs to be laid hot, quickly, and uniformly, then compacted immediately. You need specialized equipment like an asphalt paver and multiple heavy rollers. The temperature of the asphalt, the speed of the paver, and the rolling pattern all affect the final quality and longevity. Trying to do this yourself will almost certainly result in a lumpy, uneven, and short-lived surface.
My advice? You can handle the clearing, maybe some initial rough grading, and definitely the planning and permit legwork. But for the precise grading, base installation, and especially the asphalt laying, you're going to want to call in a professional paving company like Omega Paving. We've got the equipment, the crew, and the know-how to get it done right the first time, ensuring your parking lot stands up to our intense Phoenix sun and heavy loads.
After the Paving Is Done
So, you've got your beautiful new parking lot. Now what? Maintenance is key to making it last. The good news is, a lot of this you can do yourself.
- Keep it Clean: Sweep off dirt, leaves, and debris regularly. Organic matter can hold moisture and break down the asphalt over time. Oil and gas spills? Clean them up immediately. They'll soften and degrade the asphalt.
- Sealcoating: This is a big one for Phoenix. Our intense UV rays and extreme heat are brutal on asphalt. Sealcoating every 2-3 years protects the surface from oxidation and helps prevent small cracks. You can buy sealcoat and apply it yourself for smaller areas, but make sure you follow the manufacturer's instructions to the letter. Don't apply it when it's too hot or too cold, and make sure the surface is clean and dry.
- Crack Sealing: Small cracks will appear over time. That's normal. The key is to seal them before they get bigger and allow water to penetrate the base. You can buy crack filler at any home improvement store. Clean the crack thoroughly, then apply the filler according to directions. This is a DIY job that really pays off in extending your pavement's life.
- Address Drainage Issues: If you notice new puddles forming, or water isn't draining as it should, address it quickly. Sometimes it's just a clogged drain, other times it might indicate a bigger issue.
A well-built and well-maintained parking lot will add value and functionality to your home for years. Don't cut corners on the critical steps, and know when to bring in the experts. We're here to help when you need us.